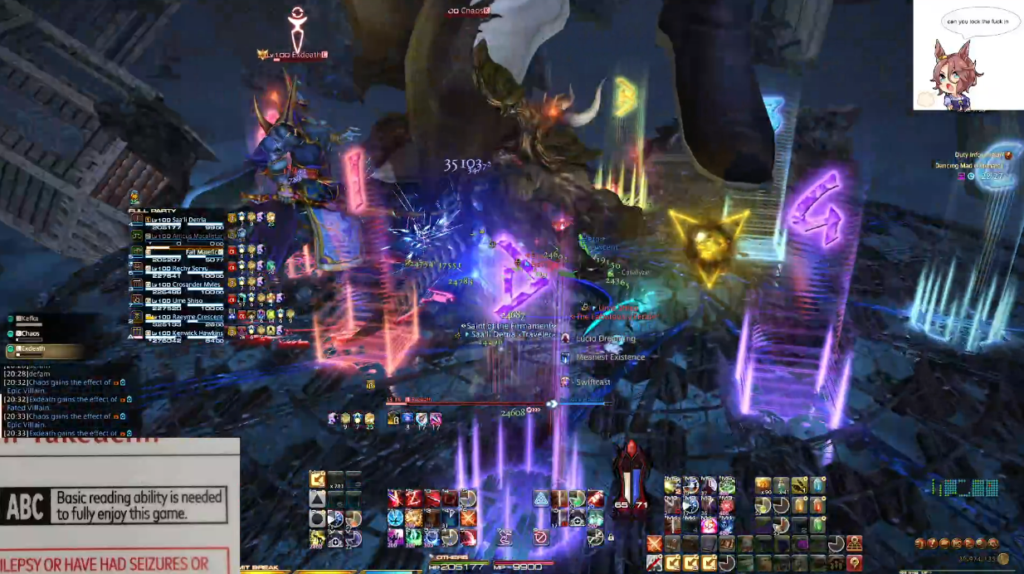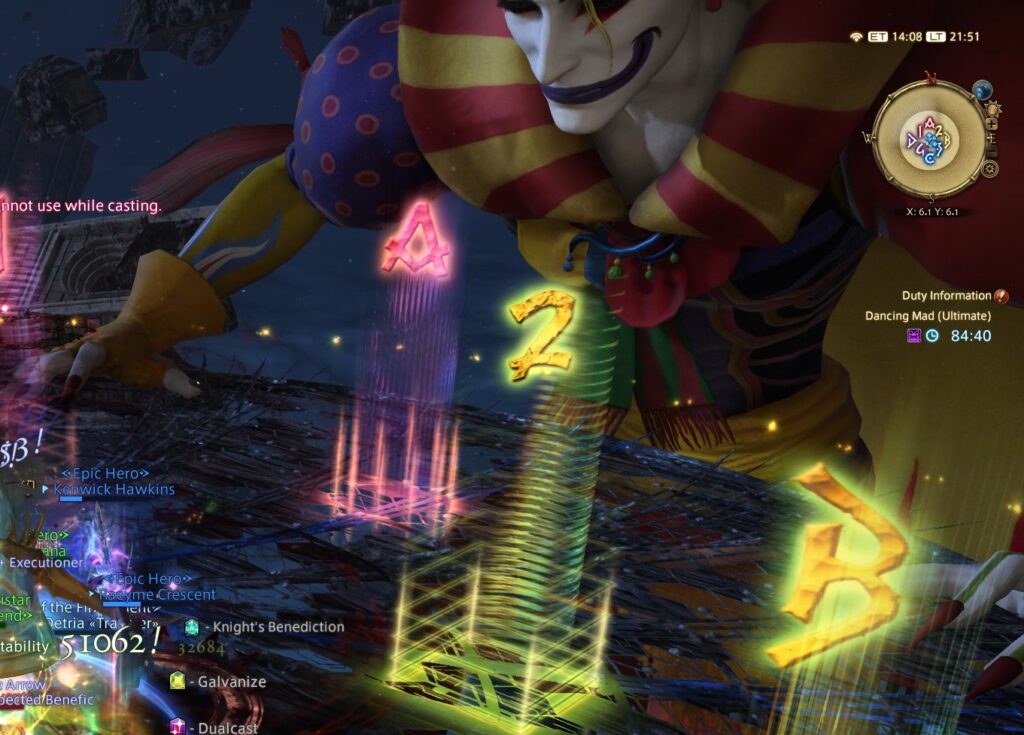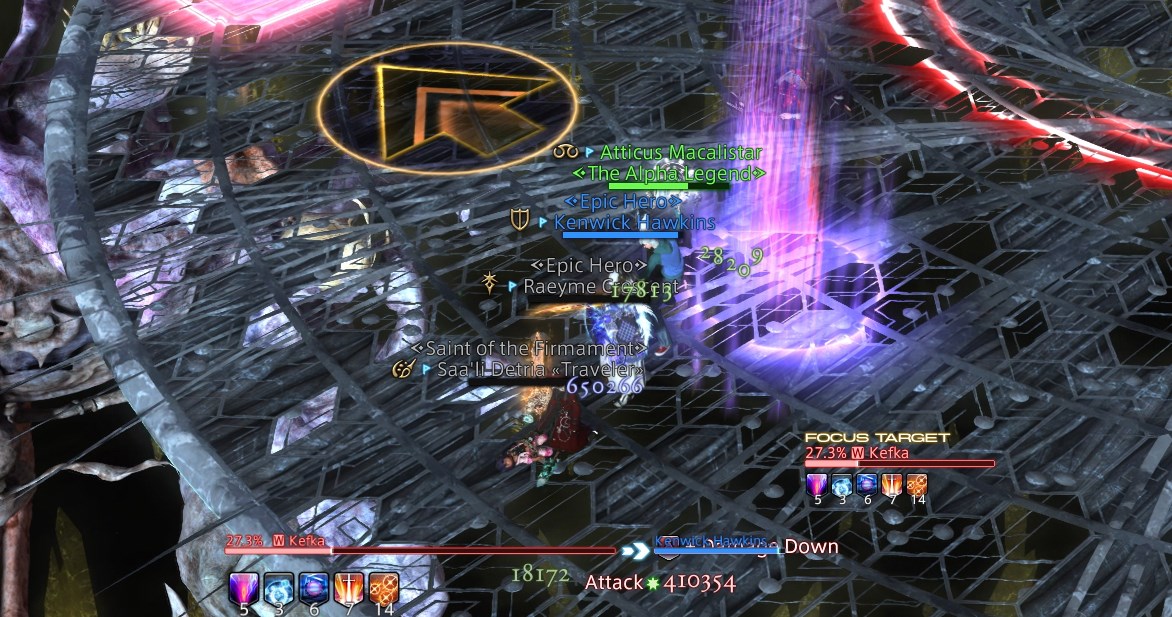
My god is this fight fast. I’m pretty sure I’ve thought the same thing about several fights in the past, but it’s incredible how much movement phase 1 demands from you out the gate. Especially as a caster! Whoever decided that at the end of Graven Image 1 R2 should go to the far edge of the arena after a possible stack on the boss’s hitbox should be given a stern talking to!
My group hit the ground running on Tuesday. The greater context of world prog at the time was that while the end of Phase 2 had been reached by streamer groups it had been by doing the Phase 1 puzzle mechanics incorrectly, and groups where beginning to hash out plans for Graven Image 2 as well as investigating Graven Image 3 possibilities. I’ve added an explanation of the puzzle in the block below, but if you know how the phase works then you can skip ahead!
An Explanation of the Phase 1 Puzzle
The Phase 1 puzzle has three elements that have to be solved to continue the fight. While players can prog and clear Phase 2 without correctly solving the puzzle, doing so leads to a fakeout ending and requires a reinstance to continue.
During the Graven Image 1 sequence, Kefka will cast Double-trouble Trap, which applies an instance of the Double-trouble Trap debuff to a DPS and support player, set to expire in five seconds. When the debuff expires an explosion emanates from the player dealing high damage and a knockback to all other players in range. Out of the players hit, one will then be afflicted with another instance of Double-trouble Trap, this time lasting for about 70 seconds.
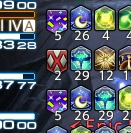
Notably, the explosion doesn’t actually deal damage to the player initially inflicted with the debuff, and if no player gets hit with the stack damage or the player with the debuff dies before it expires, then the debuff simply disappears for the remainder of the pull. The solve for this simply to handle the application through three cycles, which happen immediately after Graven Image 1, after the second sets of puddles drop in Graven Image 2, and after the teleporter arrows drop in Graven Image 3. After the third round, the debuff will disappear, but the mechanic will be considered solved.
The next puzzle happens during Graven Image 2. Over the course of the mechanic, the tower in the background will tether one role with a Gravitas (a pair stack that leaves a puddle on the ground that explodes when stepped in) and the other role with Vitrophyre (a moderately-damaging attack that afflicts any other players nearby with an extreme knockback, and will also detonate any Gravitas puddles hit). The natural inclination when first seeing this mechanic is to handle it as groups would in O8S – assign each player a buddy to stack for Gravitas, then have the role with Vitrophyre stand away from the group until their tether resolves.
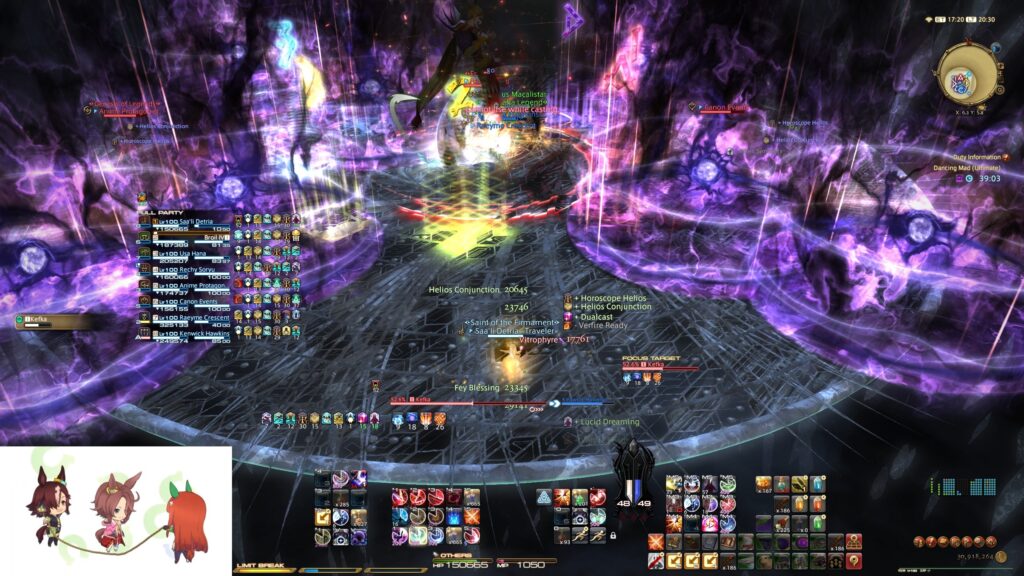
Interestingly, after the tower cleaves half the arena a second time (and, if brought forward from earlier, right as the Double-trouble Trap debuff expires) the puddles will pulse before disappearing a few seconds after.
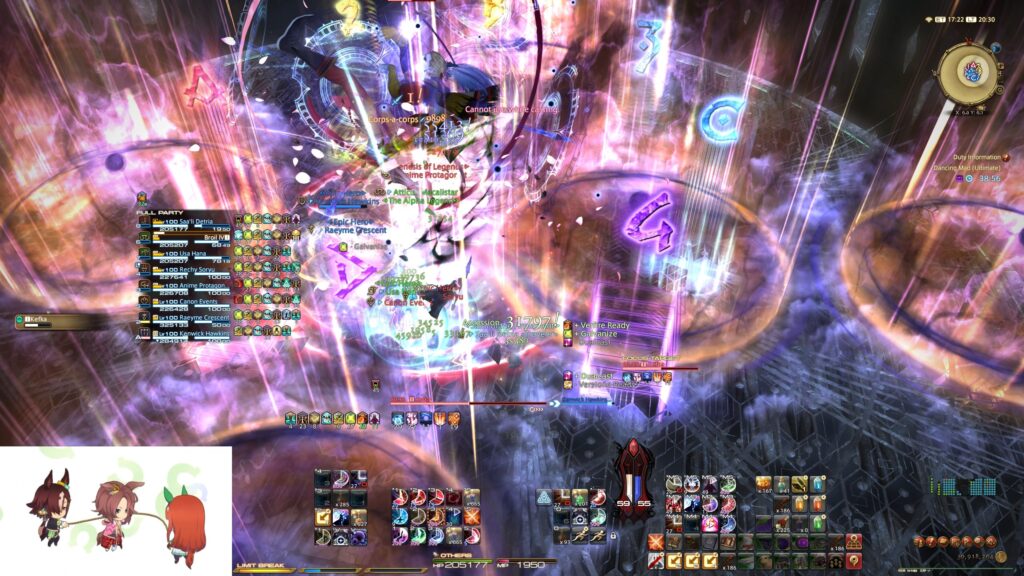
As it turns out, if the puddles are stepped into after they’ve pulsed, they will still deal damage to players who step inside, but the damage is fairly light, does not explode and deal damage to the whole raid, and can be mitigated by having multiple players inside. Additionally, it was found that multiple puddles can be stacked on top of each other with no consequence outside of slightly higher damage to players in that initial stack. Initial solved strats would have a light party group stand together for both sets, although a more recent strat shows that you can stack all four puddles on each other at once.
The solve then becomes finding a way to detonate all eight puddles after this pulse, which the Double-trouble Trap helpfully assists with! By knocking three players into one set of puddles and running back into another, all eight puddles can be detonated without wiping the raid. If all puddles are cleared this way, Kefka even has a new voice line going into Graven Image 3 that tells you you’re on the right track!
Finally, there’s Tele-trouncing going into Graven Image 3. Tele-trouncing mechanically is fairly simple – after Kefka’s cast, each player will be afflicted with two Tele-Portent debuffs – one role will get two debuffs pointing in a single direction, and the other role will be two debuffs that make a right angle corner.
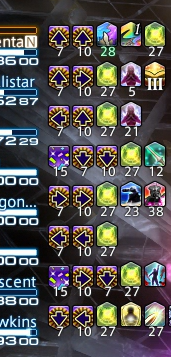
When a Tele-Portent debuff expires, the player drops a teleporter arrow in the direction shown in the debuff relative to true north. If a player steps into a teleporter, they will be, well, teleported a short distance in the arrows direction, and if they happen to land on another teleporter they’ll be chained together until they hit solid ground. Additionally, if two teleporter drops intersect in any way they’ll both disappear, although no other immediate adverse effects occur.
This is immediately followed up with the Double-trouble Trap debuff expiring (for the final time) into the actual Graven Image 3 mechanic – all players are tethered to the tower, with one role being hit with Idyllic Will, dealing heavy damage in a small AoE around them and afflicted with the Sleep debuff, and the other with Indulgent Will, dealing heavy damage that also afflicts the player with Confused, causing them to run to the nearest player. If they get close enough, they will attack the other player most likely killing them. A short time after the Sleep and Confused debuffs resolve, any remaining Tele-Portent puddles on the field will disappear.
This Confused debuff is really funny, by the way.
The resolution here is to place the teleporter debuffs and then position all players in a way that the Confused players will run into a teleporter, chaining together four of them each before the Confused debuff expires. There’s a handful of valid strats for handling this floating around out there, although my group has settled on the “Big Box” placement strat.
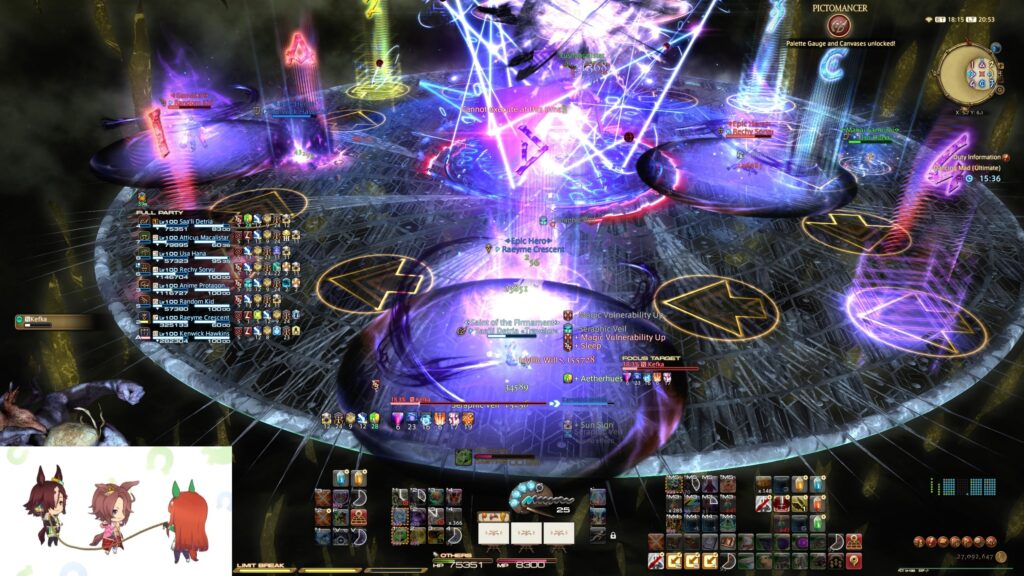
If all puzzles have been handled correctly (and, of course, you push Kefka down to under 15% HP), he’ll have another new voice line going into the next phase.
Knowing that a lot of Phase 1 was gonna change between Tuesday and Wednesday might make it seem like trying to prog on day 1 is futile. Back during initial FRU prog I elected to have my group skip out on week 1 both because it was American Thanksgiving week but also just because I knew the early strat situation would be extremely fluid for at least the first few days. But doing it now I think even if the normal strats change hitting the instance early is valuable just for understanding the timing to the overall fight. Positions or priorities can change but Graven Image happens at the exact same pace every time, and as a caster especially knowing what kind of movement you need when will always transfer over between strats.
This also boils down to very basic stuff in phase 1 like Mystery Magic casts. At the beginning of Tuesday night I had a really hard time reading the casts in Graven Image 1. It’s only eight of God’s own seconds from when he finishes casting Graven Image 1 and when the fire and ice casts resolve, and that’s before you have to consider if you’re handling the knockback or not!
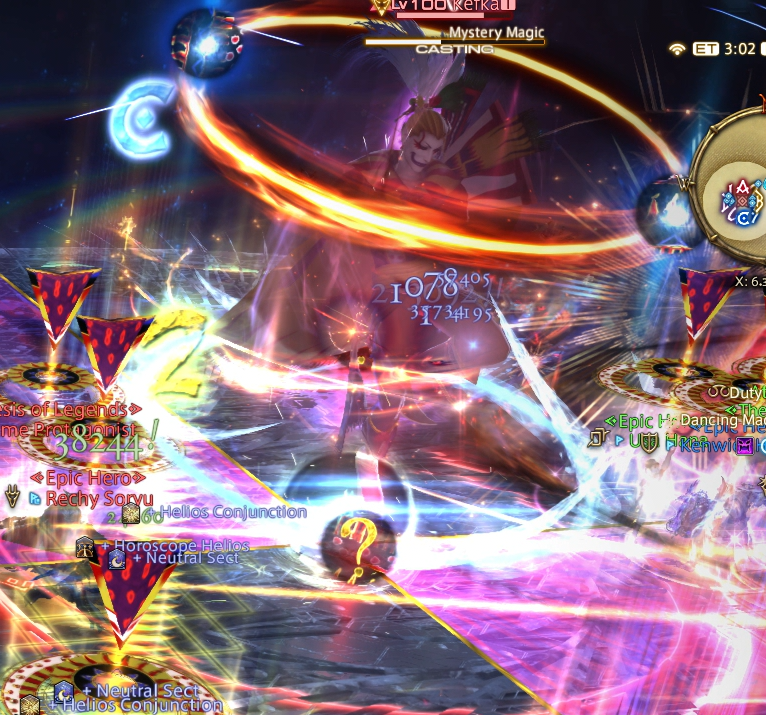
When I was first learning the opening of the fight I also had a hard time remembering to spread out after the stack/spread resolution for the Wave Cannon casts coming from the tower after. That part took a bit of practice to drill down naturally. For Mystery Magic, I’ve sort of come down to a system of checks:
- Check the ring at his feet – if I’m getting knocked back I need to make sure if I need to run far north or not to avoid standing in the wrong part of the arena. Either way, if I’m tethered I’m already running north to handle the knockback.
- Check the ring on his head – if it’s a spread and I’m being knocked back, I should try to angle myself with the tower a bit so I’m not knocked back straight through the center of the arena. Not getting knocked back makes this easier, since I can just pre-spread out to my later Wave Cannon position.
I’m using a similar system for the other two Mystery Magic casts, except I’ve had some trouble remembering the Fire/Thunder one because for Thunder/Ice I’d hammered in that Thunder was on his head because it came from the sky, but in Fire/Thunder it’s at his feet! What a jerk!
While we started with ignoring Double-trouble Trap and not solving Graven Image 2 and 3, about midway through the night information on how to solve Graven Image 2 was posted, and we determined that if we’re gonna have to do it later on anyway, we should really just reprog a bit to learn them now. And it turns out, I think Graven Image 2 is so much easier when handled the correct way! You’re given a lot more room to work with if you’re targeted with Vitrophyre, and as new more improved placements have come out it’s become even easier for melee to minimize downtime to drop puddles. After some practice we even got to trigger his different voiceline towards the end of the night!
As we were wrapping up the first inklings of how to solve Graven Image 3 were hitting the streets, which gave us a long runway for placements to be hashed out.
Wednesday brought some changes to puddle placements in Graven Image 2, some corrected arena markers, and the Big Box strat for Graven Image 3. Graven 3 takes some time to work out where you need to go especially if you have the right angle set, but what I’ve settled on is to look at the left-most debuff to tell which side I’m on. For example:

This set has a down arrow first, which means I’m going to where the other down arrows are placed on the east side. After that the only thing I need to pay attention to is the debuff timers – while the positions of each pair of arrows remains static in any strat, which teleporter will drop first is random. When first doing the mechanic I’d have to drop my casts to make sure I made it to the right side on time, but as pulls have gone on I’ve been able to bleed out more and more uptime, and now I’ve gotten to the point that I can finish out some long-cast CMY under the boss and Smudge to the correct spot right before it drops. It feels good!
Towards the end of Wednesday night we saw the phase 2 transition for the first time. Is Kefka stupid though?
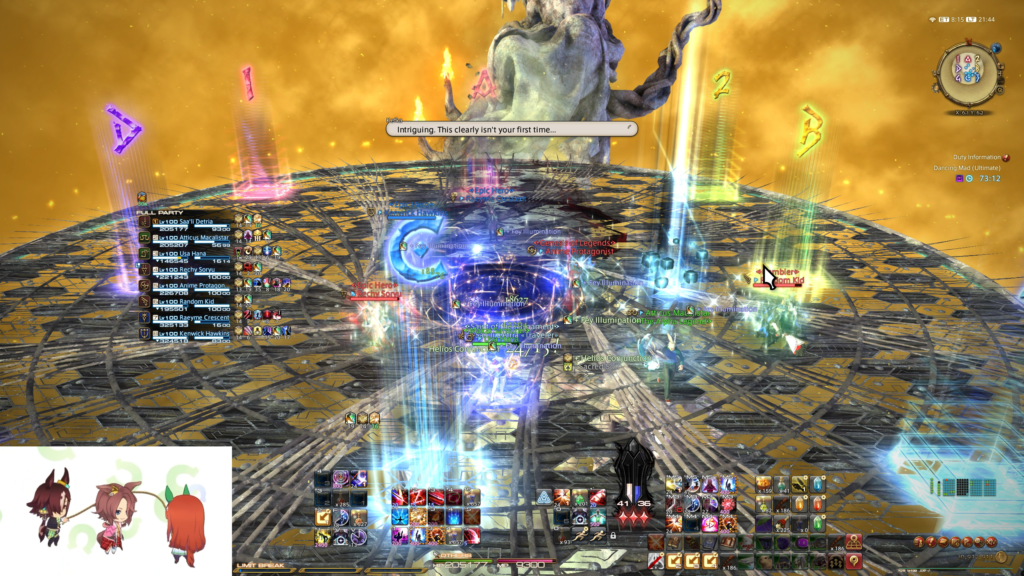
While there’d be some additional cleanup on phase 1 through the rest of the week I really want to spend the remainder of this week’s post on Forsaken. The flow of this mechanic feels a lot like TOP’s Hello World or FRU’s Ultimate Relativity. You have your set priorities and patterns depending on what your start with, although the order you take things ends up being a bit more random than either of the other two. In that sense, maybe it’s more like either of TOP’s first two mechanics in terms of having to keep pace with the mechanics timeline while also maintaining uptime. It’s an overwhelming mechanic to take on at face value, and a lot of effort has been spent by others this week on finding ways to simplify the execution. Currently NA has two similar strategies with the main difference being how certain patterns are adjusted for – this post is already getting really long so I don’t want to break down the mechanic this week, although ideally we push past it and into phase 3 this coming week.
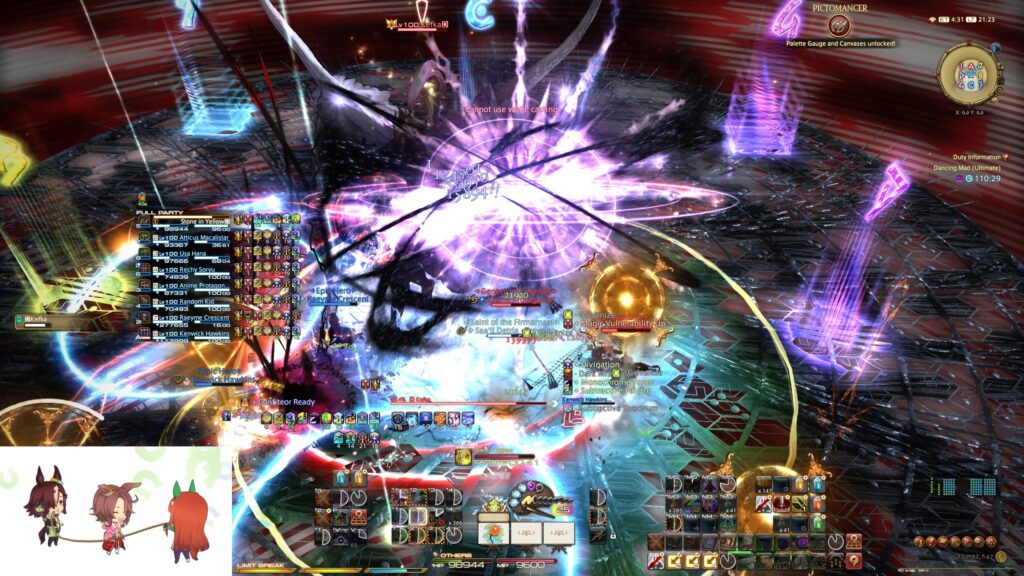
Forsaken is interesting because it feel so much like a more compact version of Idyllic Dream, and I think you can handle it the exact same way. By creating macros that push bits that you need to retain into your private /echo chat you offload that part of the mechanic, letting you focus more on your positioning and uptime. I do worry that Forsaken becomes a prime target for automarker abuse, and I really hope even if it comes to that the party finder community doesn’t immediately fall in and use third party tools to automate the mechanic.
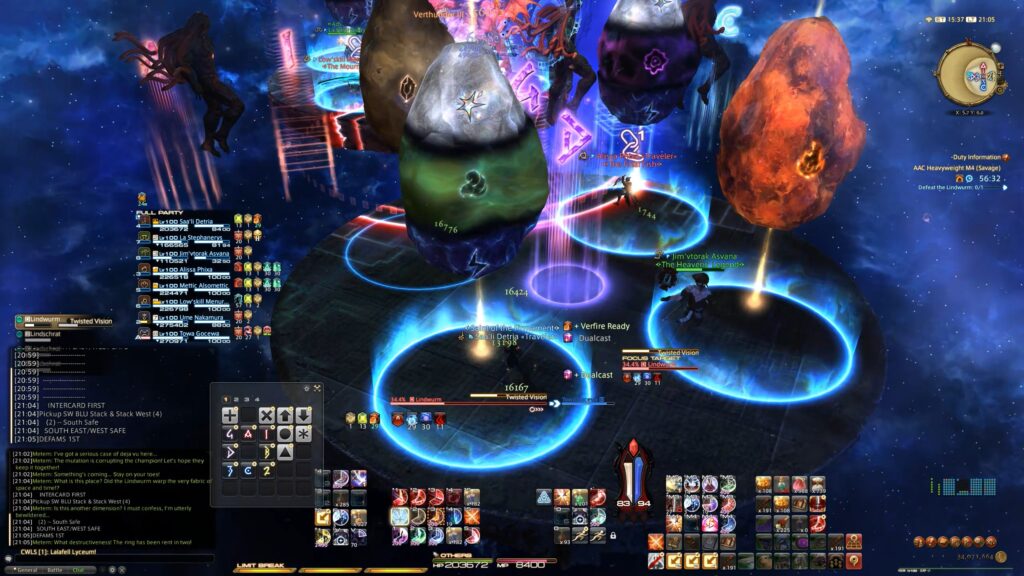
The way I find is best to learn a complex mechanic like Forsaken is to break it down into each of its individual pieces and try to figure out why guides have you handle each step the way they do. Before south adjust started gaining traction I spent an entire lunch hour at work reviewing Rinon 341, writing out how each part of the mechanic worked and trying to understand it in its entirety. What I produced was a set of sloppy notes mainly meant for myself, although I did also share it with my static – heck, even if no one ends up using it, it’s better to have information available than to withhold it until someone asks for it.
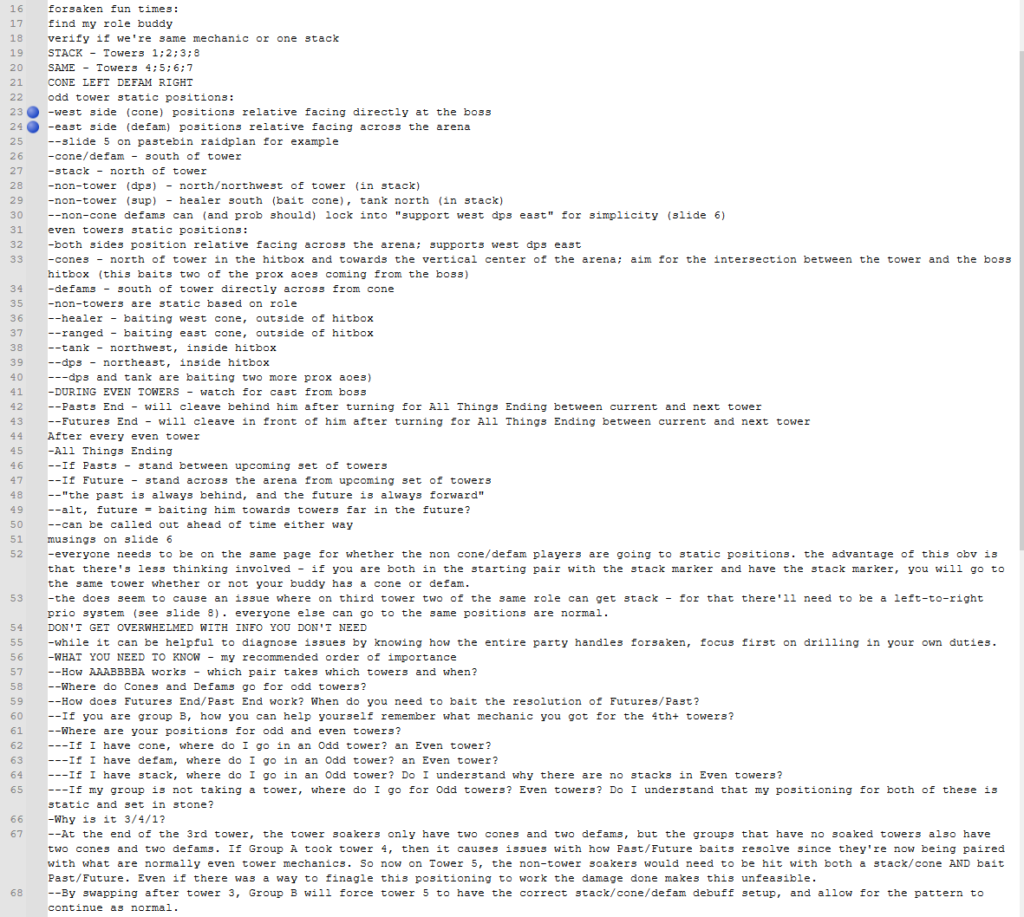
Even when we moved to south adjust 341 later, I still have a good enough grasp on the mechanic that I was able to help the group understand what went wrong as we progged through Forsaken on Thursday and Friday. This was also complimented by the release of a sim for the mechanic on Thursday night – suddenly you had instant access to practicing the mechanic over and over again, getting the details just right. I think it’s just a tiny bit silly that we have a sim for such an early mechanic – I think sims are most valuable when it’s a complex late-fight mechanic like Crystalize Time – but there’s no arguing with the results. By Friday we were able to push as far as the 4th set of towers cleanly, and between additional time in party finder and the sim the group is in great shape to push past Forsaken and through to the end of phase 2 this coming week.
Seeing a mechanic come together like this is one of the most exciting parts of progging an ultimate fight. The way the group comes together to help people learn, or to teach each other tricks on how they process mechanics is suuuuuuch a good feeling. At the time of writing, the world race has wrapped up and the whole fight is available for breakdown. Guides are slowly being put together for phase 3 and beyond, and to me it looks like the hardest part of the fight – figuring out how to fit each mechanic together to solve it successfully – is done. Huge props to the world proggers who stream and share their strats with the world, and for giving everyone a template to work and refine off of. I hadn’t really paid much attention to the world race after the first couple of days to keep my focus on my own prog, but from the bits I’ve seen I’m really excited to get deeper in the fight. We’ll have to see what next week brings!